
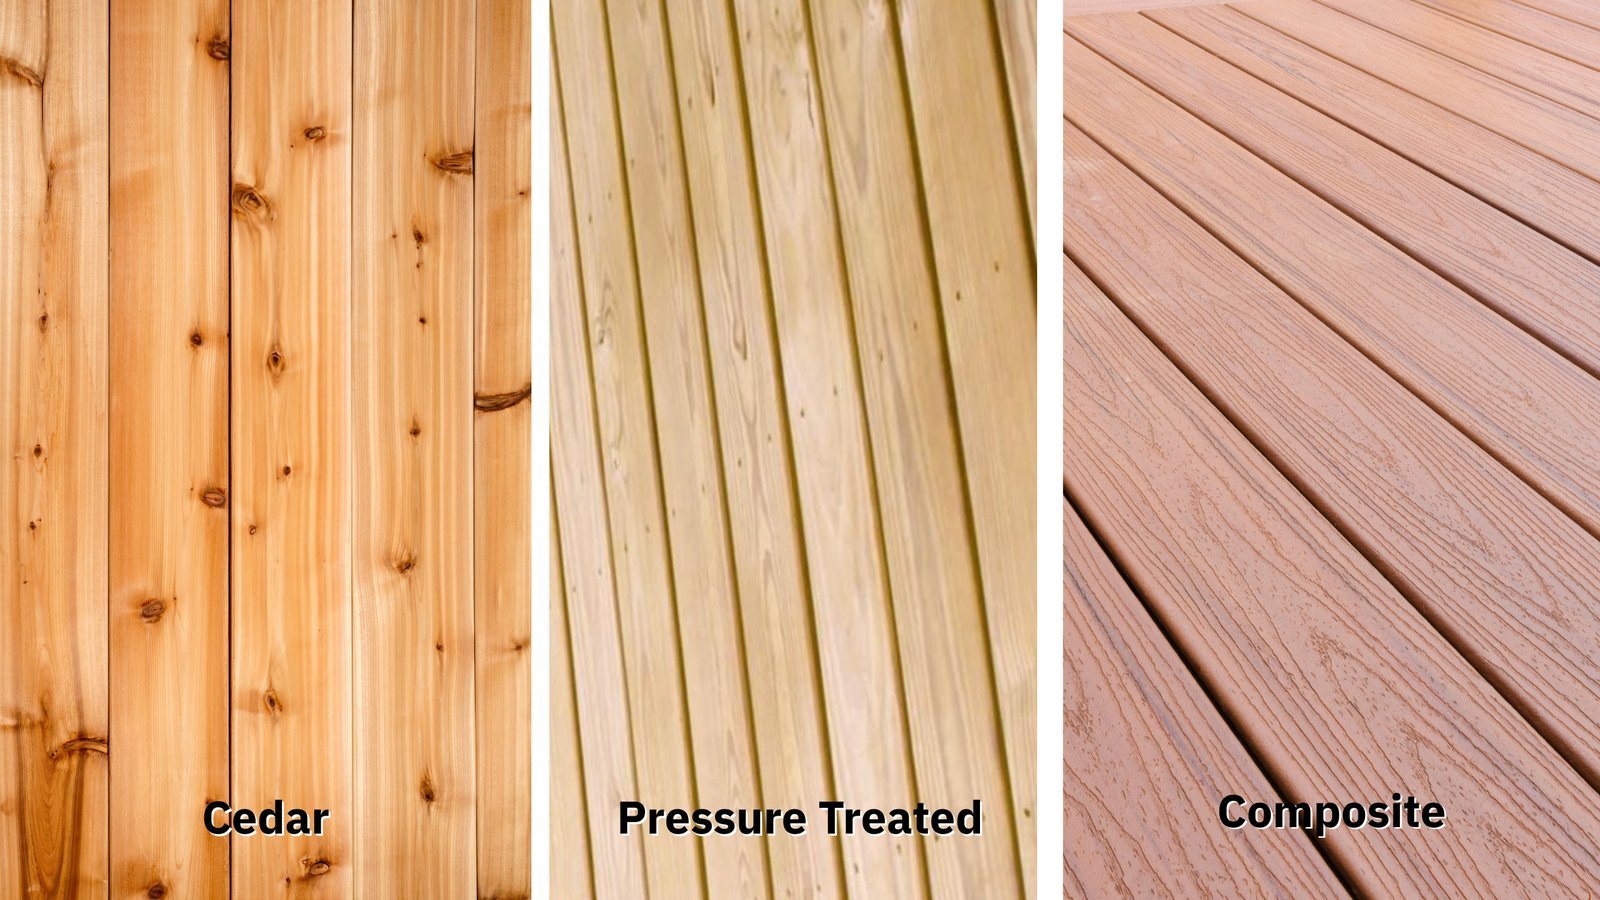
Yes, you can bond treated lumber, but you must choose a product labeled for exterior use and moisture resistance. You can achieve a strong bond with pressure treated wood by first ensuring the material is completely dry, as the chemicals and moisture inside prevent standard wood glues from working effectively. If the wood feels damp or cold to the touch, wait until it reaches a stable, dry state before you begin your project.
Best times to glue pressure treated wood
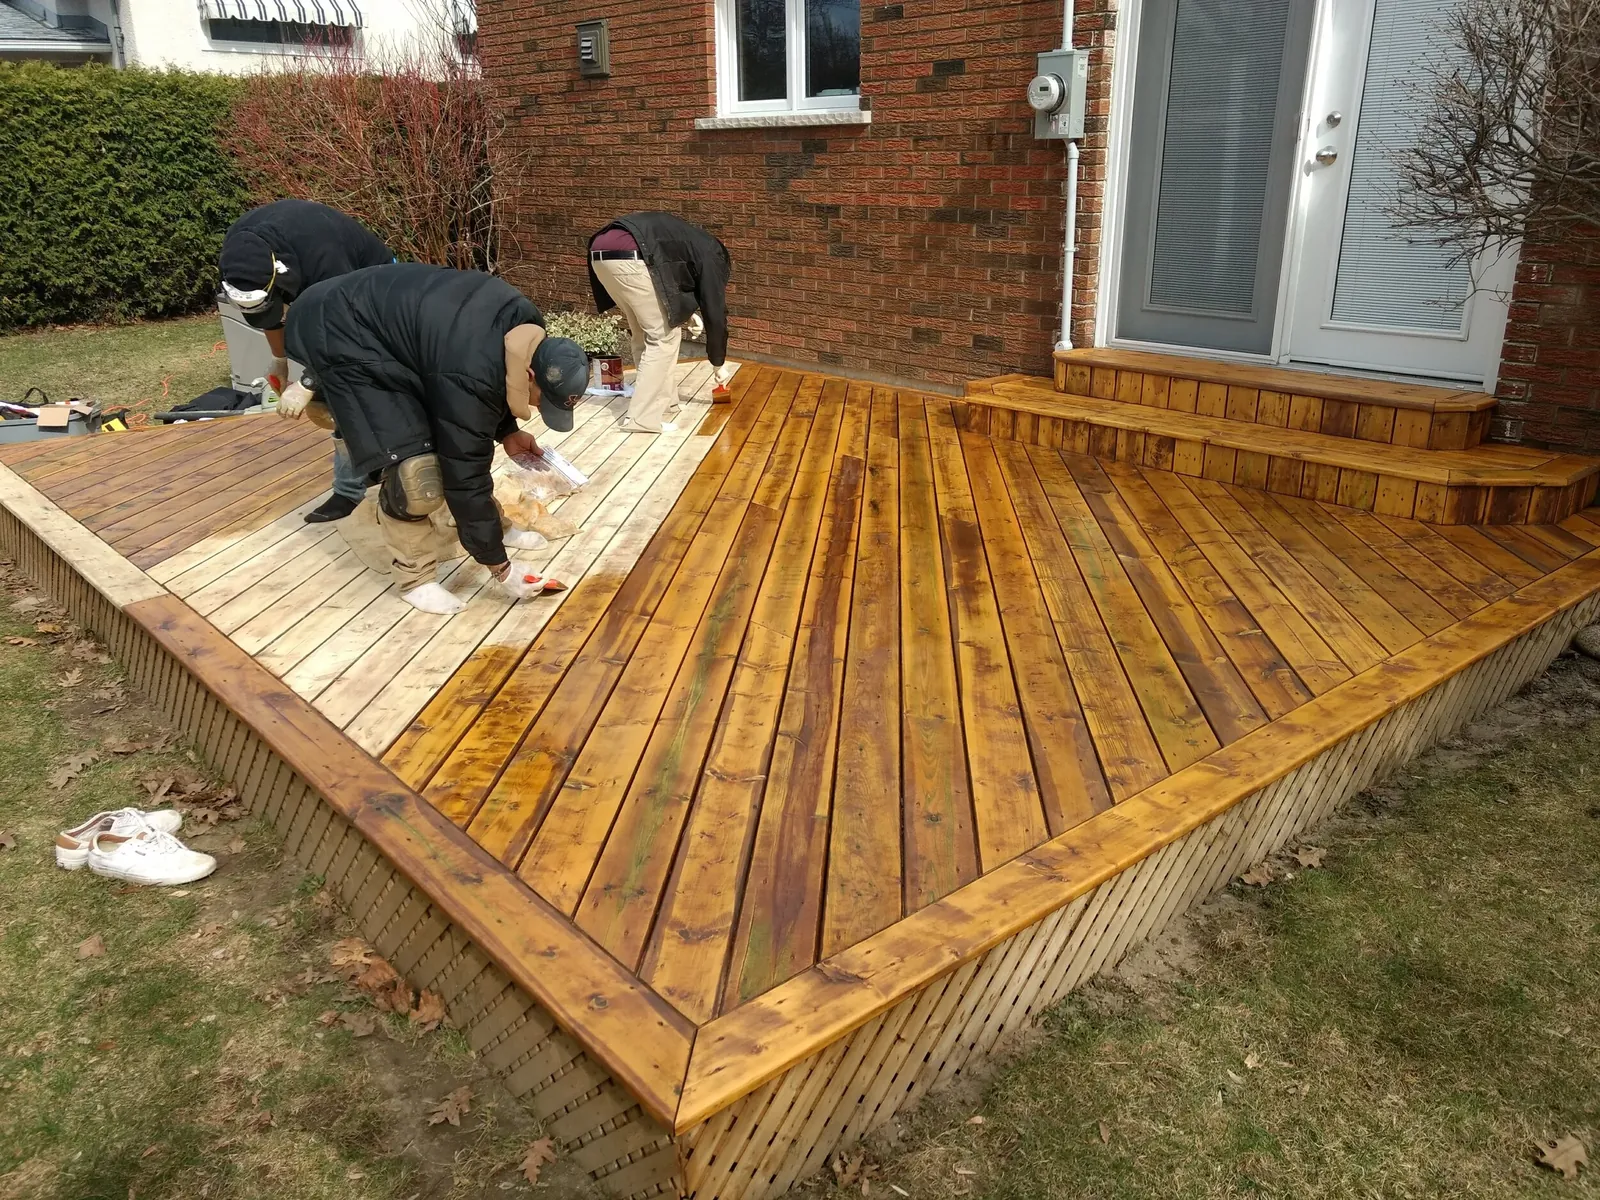
Not every project requires glue, and some conditions make it impossible for adhesives to hold. Use this table to decide if your current wood project is a good fit for gluing.
| Your situation | Answer | Why |
|---|---|---|
| Wood is damp or wet | No | Moisture prevents chemical bond |
| Using indoor PVA glue | No | Water breaks down the bond |
| Using exterior polyurethane glue | Yes | Designed for outdoor temperature changes |
| Joints under high tension | No | Glue can’t replace mechanical fasteners |
| Wood is freshly treated | No | Surface chemicals block adhesion |
| Projects with large gaps | No | Glue needs tight, flush contact |
If the wood feels heavy or cold to the touch, it’s still saturated with treatment chemicals. If you glue too early, the wood will shrink as it dries, causing the bond to snap instantly.
Check the surface for a waxy or oily residue. If you can scrape a film off with your thumbnail, the glue will stick to the wax rather than the wood fibers. In this case, sand the surface with 80-grit paper until the wood feels porous and raw.
Always prioritize mechanical fasteners for structural loads. If a joint supports a person’s weight or holds a gate hinge, use bolts or structural screws. Glue should only serve as a secondary stabilizer to prevent wood rotation. If the joint has a gap wider than the thickness of a business card, the adhesive will fail under vibration. Use a shim or recut the joint to ensure a tight, flush fit.
The rule for successful adhesion
The main factor deciding if your bond will last is the moisture content of the wood. Pressure-treated timber is injected with water-based preservatives, which keep the wood fibers saturated for weeks or months after it leaves the plant. Standard wood glues, which are typically water-based PVA formulas, can’t penetrate these fibers or cure properly when the wood is still saturated with treatment chemicals.
Use a moisture meter to ensure the wood has dropped below 15% moisture content before applying any adhesive. If the meter reads higher, the glue will sit on the surface like a film, creating a weak bond that peels away at the first sign of stress.
You must also consider the structural role of the glue. Adhesives in outdoor settings face constant expansion and contraction due to heat and humidity. If you rely solely on glue for a load-bearing joint, the movement will eventually cause the bond to fail. Always use mechanical fasteners like stainless steel screws or bolts to hold the weight, while the glue acts as a secondary seal to keep water out of the joint.
Many builders make the mistake of over-tightening these fasteners, which crushes the wood fibers and prevents the glue from forming a proper seal. Tighten until snug, then stop. If the wood is dry to the touch and the project is non-structural, use a polyurethane-based adhesive; if the wood is still damp or the joint carries significant weight, use only mechanical fasteners.
Steps for a lasting bond
If you have confirmed your wood is dry, follow these steps to achieve a durable connection.
Clean the surface thoroughly with a stiff wire brush to remove loose debris, dirt, or salt crystals left by the treatment process. A clean surface ensures the adhesive touches the wood fibers directly rather than just the dust on top. If you skip this, the glue will bond to the grit, which will eventually flake away under stress.
Scuff the bonding area by sanding the faces with 80-grit paper to open the pores. This creates a mechanical profile for the glue to grip. If the wood is oily, such as cedar or teak, wipe the surface with acetone immediately after sanding to remove natural resins that prevent the adhesive from setting.
Apply a professional-grade polyurethane construction adhesive in a thin, consistent bead. If you’re working in temperatures below 50 degrees Fahrenheit, keep the adhesive tube in a warm room before application. Cold glue thickens, preventing it from penetrating the wood fibers deeply enough to create a structural bond.
Clamp the joint tightly using bar clamps or C-clamps for at least 4 to 6 hours. The pressure forces the adhesive into the fibers; you know it’s working if a small amount of glue squeezes out of the seam. If no squeeze-out appears, your clamps are too loose or the surfaces are uneven.
Cure the joint for 24 hours before removing the clamps. Don’t put the wood into service or expose it to rain until the time specified on the tube is complete. Premature exposure introduces moisture that causes the adhesive to foam excessively, creating a brittle, porous joint that will fail under load.
Avoiding common bonding failures
The most common mistake is using standard yellow or white PVA wood glue on exterior projects. These glues are designed for interior furniture and will lose their strength as soon as they encounter rain or high humidity. This mistake costs you the entire project, as the joint will eventually pull apart and leave the wood exposed to rot.
To avoid this, always check the label for “exterior” or “waterproof” ratings before you buy. If the label doesn’t explicitly state it’s meant for outdoor use or pressure-treated surfaces, it isn’t the right choice for this task.
If you’re working with pressure-treated lumber, look specifically for adhesives labeled for that material. Standard waterproof glues often fail to bond with the chemical preservatives found in treated wood. In these cases, use a polyurethane-based adhesive or a specific construction adhesive designed for treated surfaces.
You can easily test your current supply by placing a small, cured bead of glue in a jar of water for 48 hours. If the bead turns milky or softens, discard the bottle immediately. Only products that remain rigid and clear after submersion are safe for your outdoor builds.
When to stop and get help
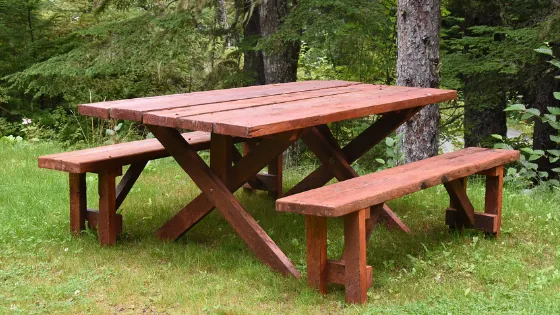
Some situations require professional tools or expertise to ensure the safety of your structure. Stop your work and consult a licensed contractor or structural engineer if you notice these signs:
The wood shows signs of structural rot or deep cracks that compromise the integrity of the board. If you can push a screwdriver into the wood more than a quarter-inch without resistance, the fibers are too compromised to hold a mechanical bond.
The joint you’re trying to glue supports a deck, staircase, or overhead structure where failure could cause injury. Glue is designed to hold wood together, not to bear weight in shear or tension. If the joint carries a load, it must be reinforced with steel hardware or through-bolts.
The surface of the wood remains wet or “weeping” after several weeks, which indicates it isn’t suitable for gluing. Moisture trapped inside the grain will eventually force the adhesive to delaminate.
You’re attempting to bond large timber beams that require specialized heavy-duty adhesives or industrial-grade clamping systems.
If your project involves structural safety, don’t rely on glue as your primary method of support. Always defer to a professional when the failure of a single joint could lead to a collapse.
Related guides
Frequently asked questions
How long does pressure treated wood need to dry before gluing?
Pressure-treated wood typically requires 2 to 4 weeks of air drying in a ventilated area before it’s dry enough to glue. You can check the moisture content by pressing a moisture meter into the wood; aim for a reading below 15% for the best results. If you don’t have a meter, look for the wood to turn a lighter, duller color rather than a dark, wet green.
Is it safe to use epoxy on treated wood?
Yes, you can use epoxy, but it requires a very clean and dry surface to bond well. Epoxy is excellent for filling small gaps, but it’s more expensive than standard construction adhesives. Make sure the wood is bone-dry, as any trapped moisture inside the wood can cause the epoxy to lose its grip and peel away from the surface over time.
Does the type of pressure treatment affect the glue?
Yes, certain newer treatments containing high levels of copper can react with some adhesives. Always check the adhesive manufacturer’s technical data sheet to ensure it’s compatible with copper-based preservatives. If the manufacturer doesn’t explicitly list pressure-treated wood as a compatible surface, choose a different product to avoid a chemical reaction that prevents the glue from setting.
How much glue should I apply to the joint?
You should apply a thin, consistent bead of adhesive, generally about 1/4 inch wide, along the center of the joint. Don’t apply too much, as excess glue that squeezes out can be difficult to clean and may interfere with future staining or painting. The goal is to have full coverage across the contact area without significant overflow when you apply clamp pressure.
Can I glue treated wood to untreated wood?
Yes, you can glue these together if both pieces are dry and you use a high-quality polyurethane adhesive. The main challenge is that the two pieces of wood will expand and contract at different rates as they dry out. Because of this movement, you should always use screws to provide the structural hold, while the glue acts as a weather-resistant seal between the two different materials.
Why did my glue bond fail after a few weeks?
Bond failure usually happens because the wood was still saturated with moisture when you applied the glue. Even if the surface felt dry, the interior of the board likely contained enough water to push the adhesive away from the fibers as it evaporated. Another cause is failing to use clamps; without tight pressure, the glue can’t penetrate the wood, resulting in a weak surface bond that breaks easily.
Conclusion
Start by checking the moisture level of your wood with a meter or by waiting until the color lightens significantly. Once the wood is dry, apply your exterior-grade adhesive and clamp it firmly for the full curing time recommended on the tube to ensure a strong hold. If you notice the wood remains damp or the joint is meant to carry weight, stop immediately and use stainless steel bolts instead of glue.