
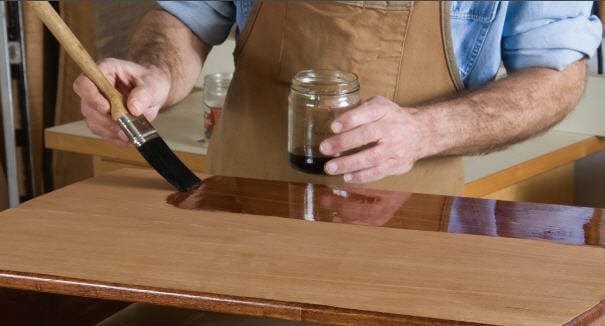
You achieve a smooth finish when you use a high-quality synthetic bristle brush or a foam applicator to apply thin, even coats of finish while maintaining a “wet edge.” Controlling the drying time and avoiding overworking the surface helps you apply varnish without brush marks. This method works best for DIY enthusiasts who want to achieve a professional, glass-like look on wood furniture or cabinetry without needing expensive spray equipment.
Essential supplies to apply varnish smoothly
To get the best results, you must gather the right supplies before you start. Using the wrong tools is the most common reason for streaks and bubbles.
- High-quality synthetic brush: Choose one with flagged or “tipped” ends designed for your specific finish.
- Fine-grit sandpaper: Keep both 220-grit and 320-grit paper on hand for smoothing the wood between coats.
- Tack cloth: This is essential for removing the microscopic dust particles that create gritty bumps.
- Mineral spirits or water: Use this to wipe the wood clean, depending on your varnish base.
- Clean stir sticks: Never shake the can, as this introduces air bubbles that ruin the finish.
- Disposable gloves: Protect your skin from chemical exposure and prevent natural oils from your hands from marring the wood.
- Clean, lint-free rags: Use these for wiping away excess finish or cleaning dust.
You can substitute a foam brush for a synthetic bristle brush if you’re working on a small, flat surface. However, avoid cheap, natural bristle brushes at all costs. They shed hairs that get trapped in the varnish and leave permanent tracks. If you see bristles coming loose while you work, stop immediately and use a pair of tweezers to pull them out before the finish sets.
If you’re working in a space smaller than 100 square feet, ensure you have a box fan positioned to pull air out of a window.
If you’re unsure about the safety of your materials, check the Environmental Protection Agency guidelines regarding volatile organic compounds in paints and varnishes. Always prioritize products labeled “low-VOC” if you’re working in an unventilated area.
Steps to apply varnish without brush marks
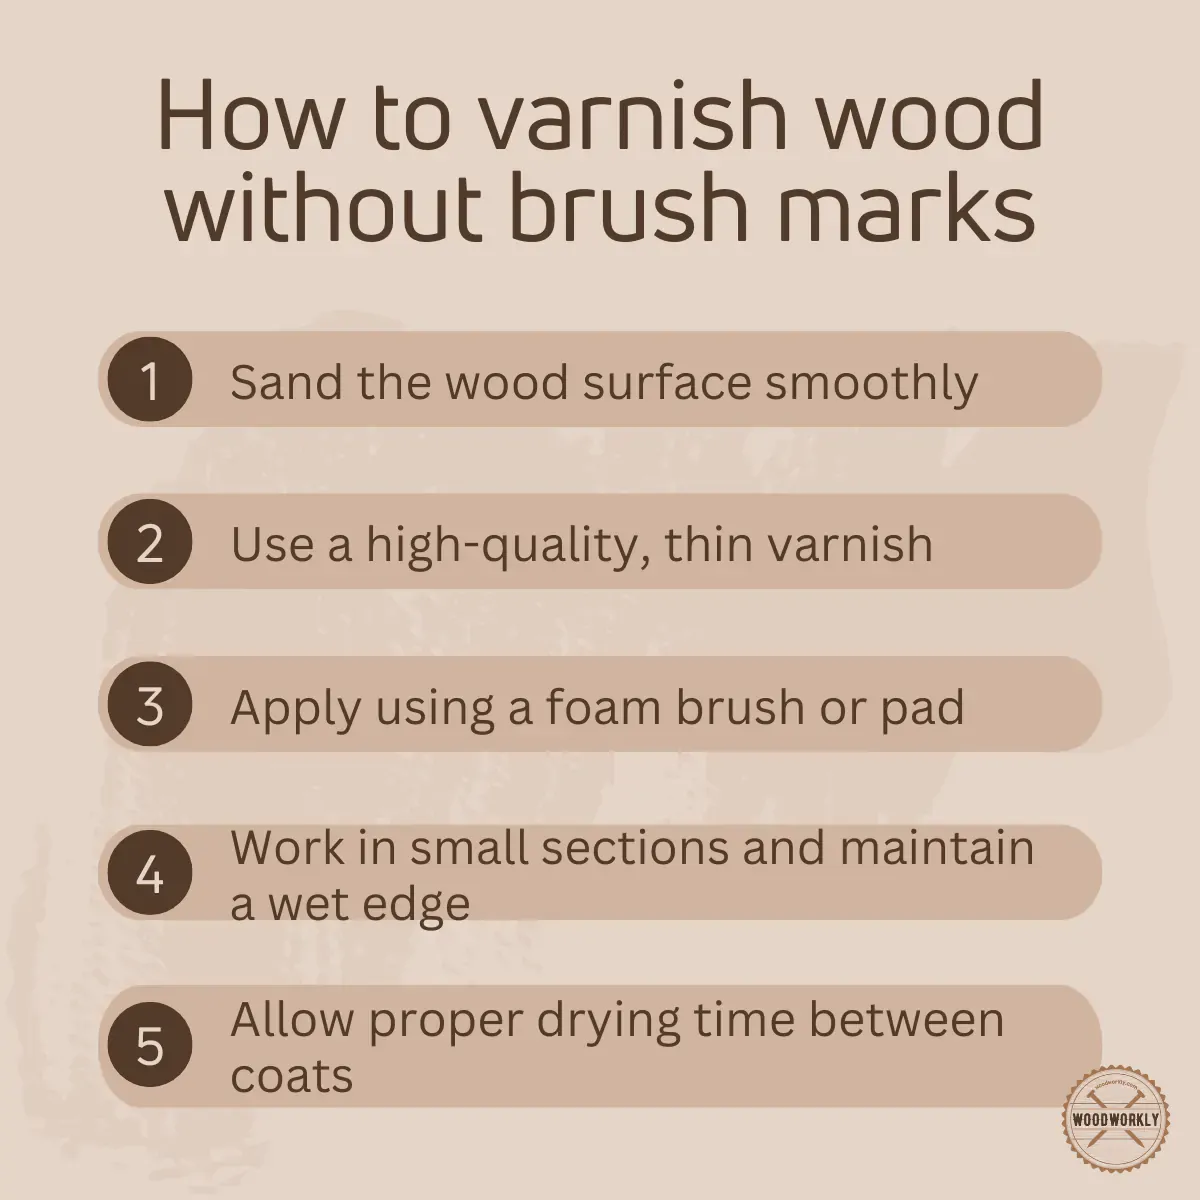
- Sand the wood surface thoroughly with 220-grit sandpaper until it feels smooth to the touch. Always sand in the direction of the wood grain to avoid cross-scratches that show up later.
- Remove all sanding dust using a vacuum followed by a tack cloth. Any leftover dust will create tiny bumps, which look like imperfections in your final coat.
- Stir the varnish slowly and gently with a clean stick for 60 seconds. Don’t stir too fast, because air bubbles trapped in the liquid will transfer directly onto your furniture.
- Dip the brush only one-third of the way into the varnish to prevent overloading the bristles. Wipe the excess gently against the inside rim of the can to ensure you apply a thin, controlled layer.
- Apply the varnish using long, light strokes that follow the grain of the wood. Keep the brush at a 45-degree angle to the surface and overlap each stroke by about one inch.
- Maintain a “wet edge” by working across the surface in one direction without stopping. If you stop mid-stroke, the varnish starts to set, and the next brush pass will leave a visible ridge.
- Check for runs or drips immediately, especially on vertical edges, and smooth them out with a very light touch of the brush.
- Allow the coat to dry completely according to the manufacturer’s time, then lightly sand with 320-grit paper before applying the next layer.
Careful: If you try to brush over a section that has already started to get tacky, you’ll pull the finish and leave ugly drag marks. Tip: If the room is too hot or dry, the varnish will dry faster than you can smooth it, so work in a cool area if possible.
Factors affecting your results
The effort required to get a perfect finish changes based on the environment and the specific product you’re using.
| Situation | Time or Effort | What is different | What to watch |
|---|---|---|---|
| Large flat surface | High effort | Needs long strokes | Keeping a wet edge |
| Vertical surfaces | Medium effort | Risk of drips | Excess product buildup |
| Humid environment | Longer dry time | Slower evaporation | Dust settling in wet film |
| Small detailed piece | High precision | Many corners | Pooling in crevices |
It’s always safer to start with two thin coats rather than one thick, heavy coat. Thick layers take much longer to harden and are far more prone to showing brush tracks and sagging.
If your workspace temperature drops below 60 degrees Fahrenheit, the product will thicken significantly. This viscosity change forces you to work faster to avoid uneven streaks. If you notice the finish dragging under your brush, stop immediately. You must wait for the ambient temperature to rise or move the project to a climate-controlled room.
Many beginners make the mistake of over-brushing a drying surface. This creates visible ridges that never level out. If you see a missed spot, leave it alone until the first coat cures completely. You can easily sand out a minor imperfection later, but you can’t fix a ruined, textured finish once it starts to set.
Signs of a professional application
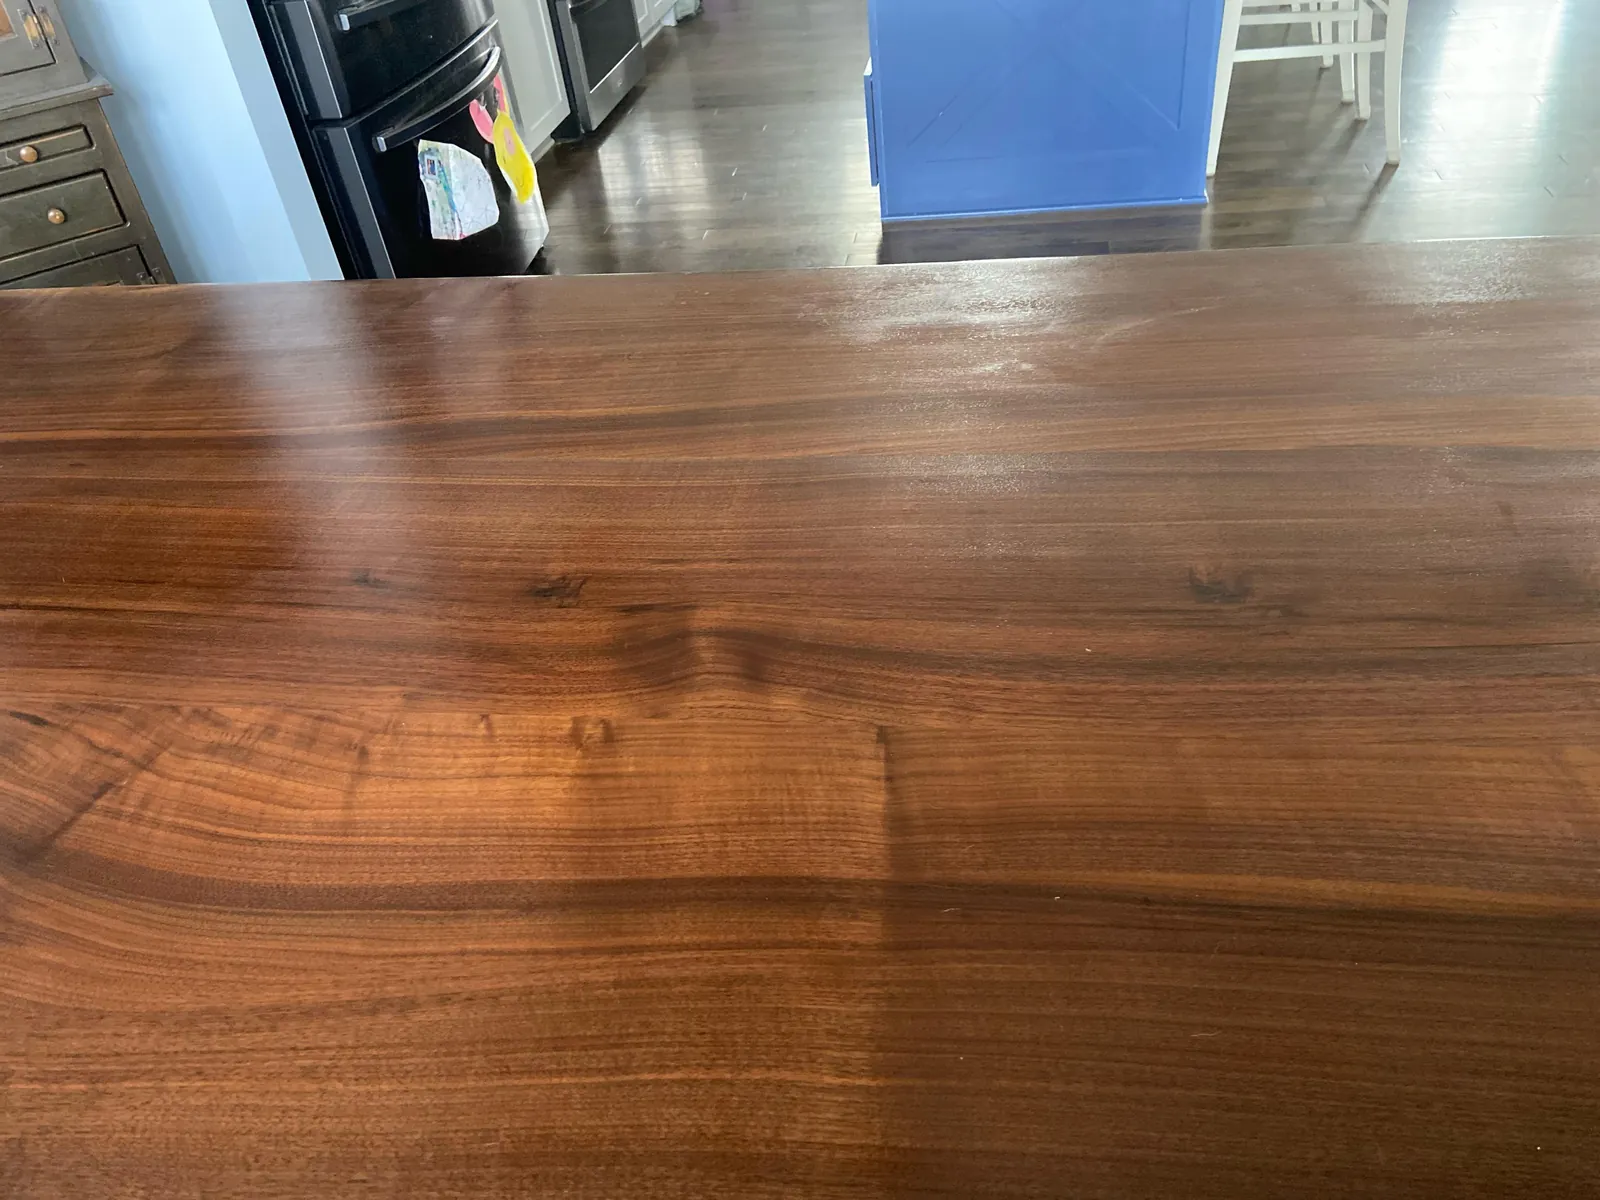
A successful application results in a surface that’s clear, uniform, and free of visible ridges or bubbles. You should be able to see your reflection clearly without any distortion caused by streaks.
If the surface looks cloudy or feels rough, you likely applied the varnish too thickly or failed to remove all the sanding dust between coats. This roughness happens because the finish fails to level out properly before it hardens. You can prevent this by thinning the first coat slightly and ensuring you always use a clean brush that has been properly maintained.
Test your progress by holding a light source at a low angle against the grain. If you see tiny craters or “fish eyes,” you have likely introduced silicone contamination from a nearby aerosol spray. In that case, stop immediately and clean the surface with a degreaser. If the finish is merely dull, apply another thin coat after a light sanding with 400-grit paper.
Maintenance and safety standards
Follow the manufacturer’s label for the specific recoat time, which is the standard set by the product maker to ensure proper bonding. If you apply a second coat before the finish has fully outgassed, the solvents trapped beneath the top layer will cause the surface to remain tacky or eventually peel.
Clean your brushes immediately with the solvent recommended on the can, such as mineral spirits for oil-based products. Store your leftover varnish in a cool, dry place and seal the lid tightly to prevent a skin from forming.
If you’re applying finish in an enclosed space, wear a respirator mask rated for organic vapors to protect your lungs. A standard dust mask offers zero protection against chemical fumes. If you’re unsure about the safety equipment needed for your specific product, check the Safety Data Sheet provided by the manufacturer. If the sheet lists a high volatile organic compound count, prioritize cross-ventilation with a box fan facing outward.
Alternative application methods
Using a foam roller
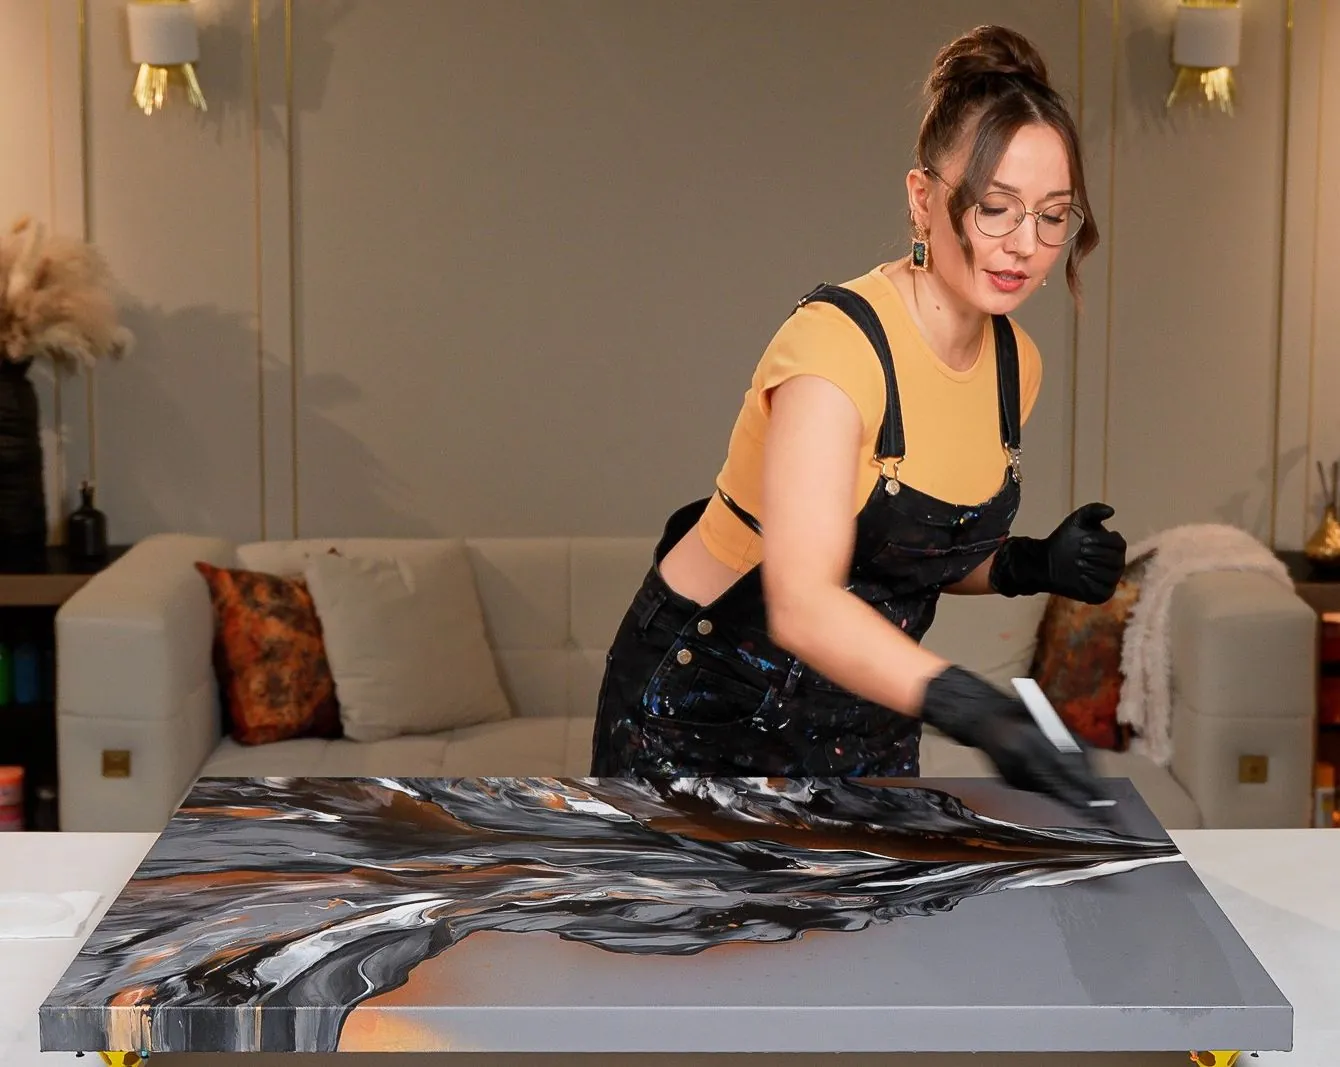
A high-density foam roller is excellent for large, flat surfaces like tabletops. It applies a very thin, even layer that levels out quickly. You must still use a brush to “tip off” the surface—lightly dragging the tips of a dry brush over the wet varnish—to remove any tiny bubbles the roller might leave behind.
Wiping on the finish
Wipe-on varnishes are much thinner than standard versions. You apply them with a lint-free cloth rather than a brush. This method takes more coats to reach the same thickness, but it’s nearly impossible to leave brush marks. It’s perfect for beginners who struggle with the timing required for brushing.
Using a spray setup
Spraying provides the smoothest finish possible because it eliminates the brush entirely. This requires an air compressor, a spray gun, and a clean, dust-free environment. It’s the fastest method for large projects, but it carries a higher cost for equipment and requires practice to avoid runs and thin spots.
Related guides
Frequently asked questions
Can I use a hair dryer to make varnish dry faster?
No, you should never use a hair dryer to speed up the drying process. High heat forces the surface to dry while the underneath remains soft, which causes the finish to crack or wrinkle. Always let the varnish dry naturally in a well-ventilated room at the temperature recommended on the can.
How many coats of varnish do I need?
You typically need three coats for a durable finish on furniture. The first coat acts as a sealer, while the second and third coats build the protective layer and improve the look. Always sand lightly with fine-grit paper between each coat to ensure the next layer sticks properly.
Is it safe to apply varnish indoors?
Yes, it’s safe if you keep the area well-ventilated by opening windows and using fans to move air. If you feel dizzy or notice a strong smell, stop immediately and leave the room until it clears. Always wear a respirator if you’re sensitive to chemical fumes.
What happens if I see bubbles in the finish?
Bubbles usually happen because you stirred the can too vigorously or brushed the varnish too fast. If you see them while the finish is still wet, you can sometimes pop them by gently “tipping off” the surface with the very tips of your brush. If the finish is already dry, you must sand the area smooth and apply a new coat.
How long does varnish take to fully cure?
Varnish usually takes between 24 and 48 hours to dry to the touch, but it can take up to 30 days to fully cure. You should avoid placing heavy objects on the surface or cleaning it with harsh chemicals until the full cure time has passed. Check the label on your specific can for the exact duration.
Conclusion
Taking your time during the preparation phase is the most important part of the process. If you clean the wood perfectly and maintain a consistent, light touch with your brush, you’ll avoid the common pitfalls that cause streaks. Practice on a scrap piece of wood first if you’re nervous about your technique.